Are you wondering how to find the best melting chocolate for molds? When it comes to using the correct type of chocolate, you have so many delicious options!
Read the tips below for ideas on how to use chocolate molds for candy making, chocolate letters, cocoa bombs, and whatever else you want to create.

Get ready to find out the best way to make the perfect sweet treats with the perfect chocolate candies!
If you are new to using chocolate in this way, this is a great silicone mold starter kit and be sure you have the best tools for working with melted chocolate.
The Best Melting Chocolate for Molds
There are a lot of different types of chocolate that can be used to make chocolate in molds.
Whether you’re making cake pops, candy bars, or are just looking for excellent melting chocolate with incredible flavor, we have you covered.
There are a variety of ways to make delicious homemade chocolates and treats.
I love dipping a strawberry in chocolate or making little candies to put on baked goods. There’s something extra special about a chocolate layer and it’s fun to do!
Do you need special chocolate for molds?
You’ll love knowing that you can really use any kind of chocolate for molds.
This means that chocolate chips, dark chocolate, chocolate melts, and even melting wafers will work out just fine.
If your focus is on making a candy, you may prefer using real chocolate because of the full flavor.
That said, when the chocolate is used for dipping, I enjoy melting wafers just as much and sometimes more.
Can I melt chocolate and put it in molds?
Absolutely. Melting chocolate over high heat and then using a wooden spoon to stir and then add to the molds is a breeze!
You can use smaller molds or even larger molds, as well, depending on what you’re trying to make.
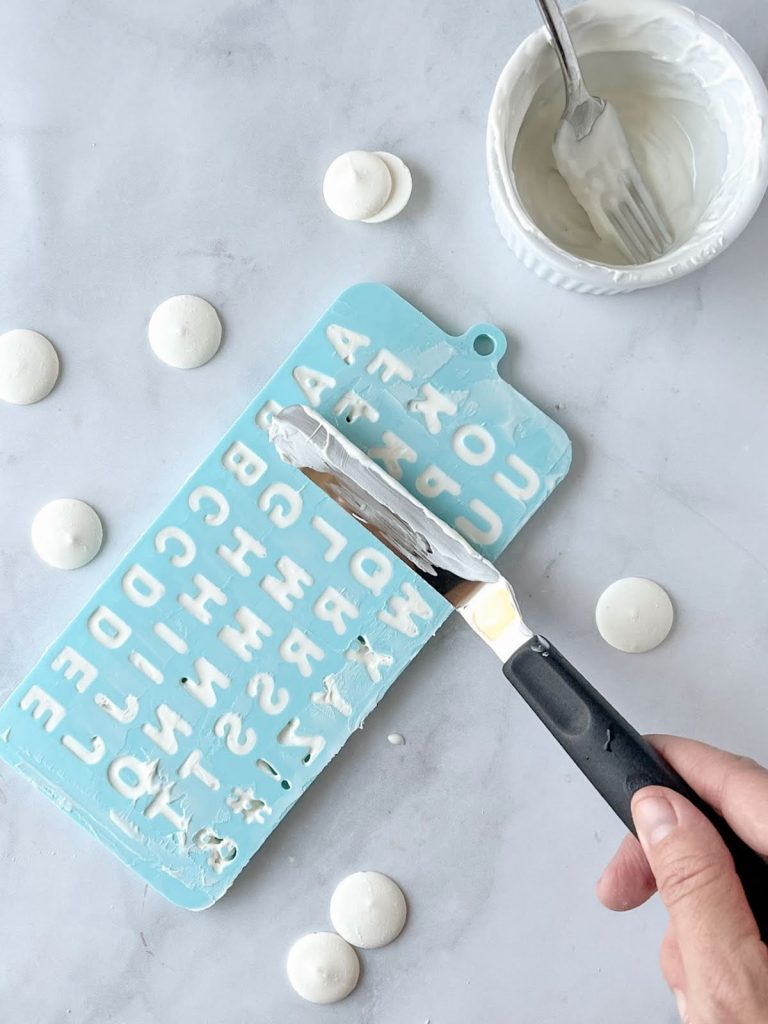
And if lettering isn’t your top skill, you can even use a candy mold to make letters like this fun Wordle treat!

How long does it take for chocolate to harden in a mold?
Working in small batches is a great way to stagger the time for the chocolate to harden.
It doesn’t take a long time for the chocolate to set once you place the molds in the fridge or freezer.
The fridge method will take about 15-20 minutes for the molds to firm up, while the freezer is typically quicker at 5-10 minutes.
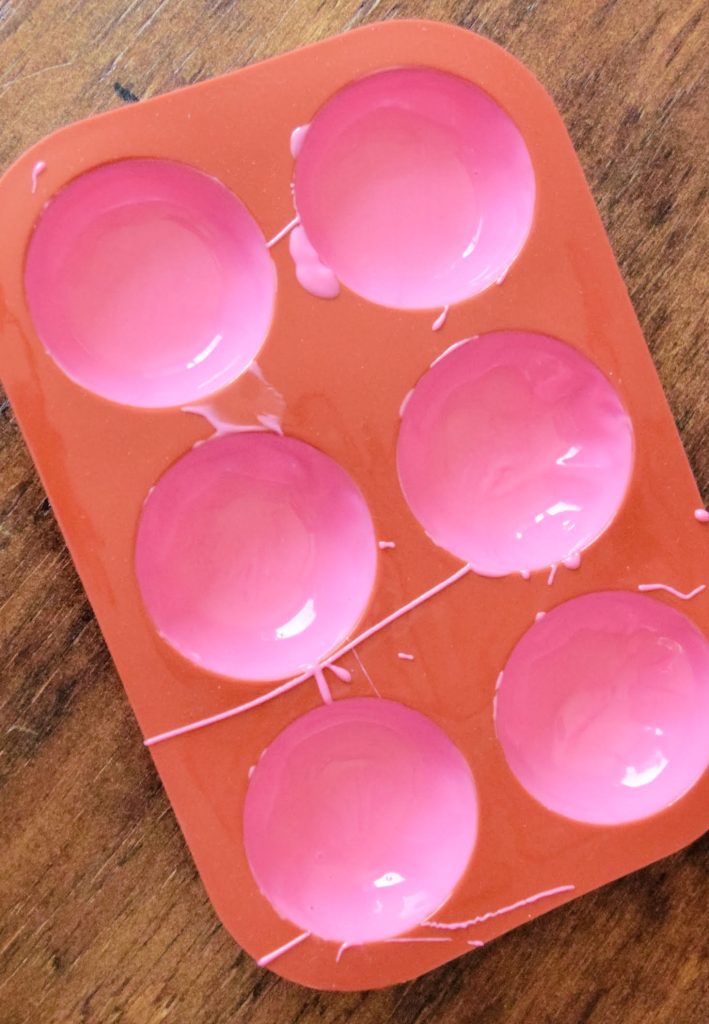
If you are working with a sphere mold for cocoa bombs, it will harden much faster because of how thin it is.
Do you need to grease silicone chocolate molds?
It’s always a good idea to add a little bit of grease to the molds. You can use a tad bit of vegetable oil and rub it on the inside of the molds to keep the chocolate from sticking.
The last thing that you want is for the chocolate pieces to stick and break off or break apart.
You want those chocolate moldings to stay all in one piece!
What are the best kinds of chocolate to put inside molds?
Now that some of the top questions about the different flavors of chocolate have been answered, let’s dive into the types of chocolate.
Merckens Candy Coating
Merckens white chocolate or delicious Merckens milk chocolate is a crowd-pleaser at the top of the list for high-quality chocolate to use in your molds.
The best thing about using these in your molds is that they melt really well and create a filled mold easily.
You can find them in different colors, too.
Wilton Candy Melts
There are so many options for candy melts with this brand!
Wilton is easy to find online and in many big box stores, which makes finding different colors simple.
Sweet Tooth Fairy Meltables
Newer to the scene are Meltables that can be found in Michaels stores. These candy wafers melt beautifully and even come in various flavors.
Be sure to check around holidays for special flavors like peppermint or red velvet.
Dark chocolate candy coatings
Using gourmet dark chocolate is a great choice, too.
Just be sure that you’re using a microwave-safe bowl or double-boiler when you’re melting so that you don’t burn the beautiful chocolate and have to start over.

Chocolate chips
You’ll find that a lot of people love using chocolate chips because they’re affordable and flavorful.
There are also a lot of flavors to choose from as well!
Baking chips are great to change up the outer coating easily and can take less time to melt than larger pieces of chocolate, making the prep time quicker.
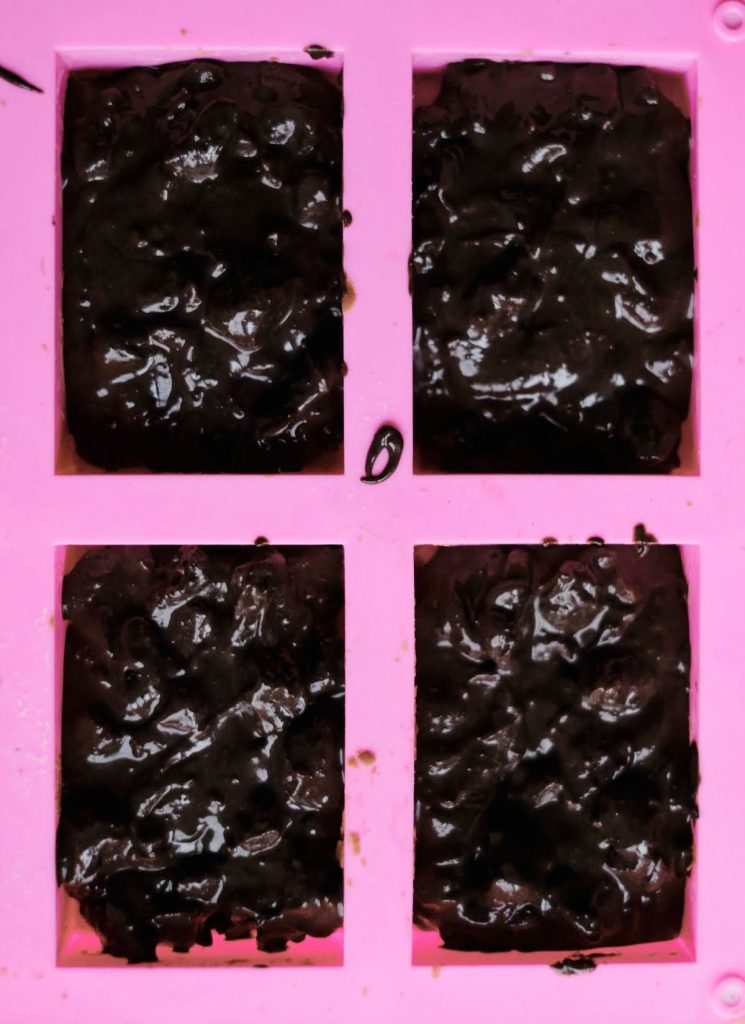
Check out how good these chocolate cranberry clusters look!
What is the melting point of chocolate?
This all just depends on the type of chocolate that you’re going to be using. Some chocolates require lower temperatures than others.
Specific temperature ranges will vary, but a good temperature range tends to be from about 86°F – to 91°F.
If chocolate has enough cocoa butter in it, then you may need to heat it closer to 101 degrees to melt entirely.
When it comes to the melting process, I like to mix a little shortening or coconut oil to keep the chocolate from seizing up.
Another good rule of thumb is to stop heating while your chocolate is still a little lumpy. The remaining lumps will melt as you stir it.
Can you save the remaining melted chocolate for later?
You can! Any excess chocolate that you have can be stored in an airtight container in the fridge.
To store, pour the melted chocolate into a container and let it cool down a bit before adding on the lid and placing it in the fridge.
When you’re ready to use it again, you’ll reheat it on low heat either in a glass bowl or a microwave-safe dish. (I would recommend pulling the container out of the fridge and letting it come to room temperature first before reheating)
Now that you know that you can use regular chocolate as well as specialty and gourmet chocolate to use in chocolate molds, the options are unlimited on what you can do!
The best way to find your favorite chocolate is to taste them all!


Leave a Reply